


Why Robotics for kids ?
Research shows that we learn 80% when we experience personally and 90% when we use it immediately. Through our dynamic programs we try to maximize the learning of students to 90%. Researchers have found the learning pattern and retention rates of students through years of research and experimentation.We Learn…
- 10% of what we READ
- 20% of what we HEAR
- 30% of what we SEE
- 50% of what we both SEE and HEAR
- 70% of what is DISCUSSED WITH OTHERS
- 80% of what we EXPERIENCE PERSONALLY
- 95% of what we USE IMMEDIATELY
How to make a robot?
This tutorial will guide you through 5 basic steps that you must go through to make a basic robot. The lessons explain the basic fundamentals of Robotics. It is advised that students should once go through these concepts before getting hands on training for making the robots.- Tutorial 1 – Getting Started with Robotics
- Tutorial 2 – Components used to make a Robot
- Tutorial 3 – Circuit Making using a Breadboard / PCB
- Tutorial 4 – Assembling a Robot
- Tutorial 5 – Programming a Robot (For Micro controller / Arduino based Robots)
Lets make the first robot that you can make at home. This is the first robot that you can start making now which does not need any programming or electronics for the robot to work. The name of this robot is beetle bot. So let us start to learn making a beetle bot step by step.
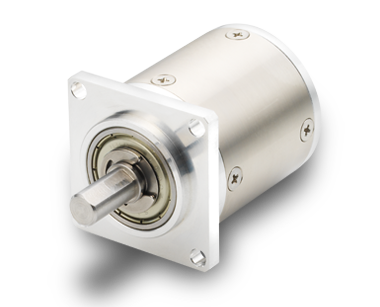
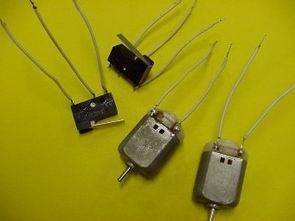
- 2 nos. 1.5V DC motors
- 2 nos. SPDT switch(Single pole double throw)
- 1 AA battery holder (with space for 2 batteries)
- small tube (Can be found in cycle shop)
- A Piece of thin aluminium sheet (25mm x 80mm)
- Paper clips
Making Of Simple Robot
STEP 1 : Making of wheels
In this robot the two motors with shaft will act as the wheels of robots. Cut the small tube and get the motor shafts inside them. This rubber tube will increase friction on the ground and help the robot to move forward. It prevents the slippage of our wheels.
STEP 2: Connection of Wires
Cut wires of 8 cm each and attach it to the motors and switches as shown in the picture. You can use a soldering iron to connect the wires. If you dont want to use a soldering iron just twist the wires along the connecting points.
STEP 3: Connection of Batteries

Connect the positive of the battery through a switch to the one terminal of left motor. Use a extra connecting wire to connect the one terminal of left motor and one terminal of right motor. The middle terminal of both the switch needs to be connected. Other connections are as shown in the diagram.
STEP 4: Final Assembly of Robot
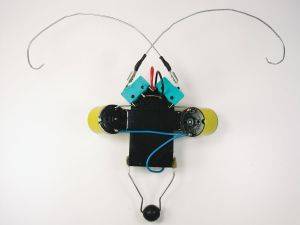
Use the paper clips and insert a bead inside it to make the front wheel of the Robot. Use glue to stick the clips to the body of the Robot. Your final assembly is ready to work and move.